Reliably connecting Raspberry Pi to Internet — part 3
In part 2, you can read about managing a fleet of small Linux embedded devices. But it assumes we already have them running. This post is about efficient and foolproof installation of the software to multiple devices.
In the startup I was part of, we didn’t have thousands of devices. We iterated over much smaller batches. But once the design started to settle down, we needed to produce batches of tens of boxes and we needed to scale. In my opinion it’s helpful to think about how to scale only to the next order of magnitude, i. e. from zero users to one, from one to ten, from ten to hundred etc. This way you’re less likely to overcomplicate what you create. It will be replaced anyway. And like in previous parts, I assume we’re not using any code deployment platform.
Another day with Ansible
The simplest solution when we had a few boxes was to
- Flash Raspbian lite image.
- Boot the device and connect it to keyboard/screen to
- change the host name
- start OpenSSH server
- (add WiFi config if not connected to wire)
- Reboot it so it advertises the new host name on the network
- Run Ansible to install our stack.
The same Ansible playbook can automate installation from scratch and update the configuration later. A small note aside: it’s a good idea to have two separate playbooks — one that sets up everything and another that deploys only your application. This way, you have less chance of bricking your device with an update after you’ve refactored your Ansible code.
This solution works but it has two main problems. You need to log interactively to each
device and the Ansible installation step was sloooooooooow. With the apt
full-upgrade and all our dependencies installation plus some compilation triggered by
pip install, the whole playbook ran over 30 minutes. And sometimes the SSH connection
dropped, so you needed to watch if the step just takes long or if Ansible is stuck. It
kind of sucked.
Let’s speed it up
We decided to replace the original Raspbian image with our custom build. There are a few options
- Yocto - very versatile, allows you to adapt to basically any hardware, also seems the most complicated
- Buildroot - compile your system from scratch with a cross compiler
- pi-gen - scripts starting from debootstrap used to build official Raspbian
Out of familiarity with Ubuntu/Debian/Raspbian we chose pi-gen as our builder. This is
a rough list of steps you can do to tweak the image:
- Remove everything after stage 2 and remove
EXPORT_NOOBS - Add the packages your app needs
- Enable SSH service via systemctl
- Set up the connectivity to your virtual network
- Add your office’s WiFi connection config
- Optionally enable debug-shell.service - very, very useful for debugging a system that refuses to start.
pi-gen works by creating a chroot where debootstrap creates the whole
system tree and downloads basic packages. If you’re familiar with Docker, then
chroot is an important component of it that makes it possible that each container is
based on a different Linux distribution.
pi-gen then copies /usr/bin/qemu-arm-static binary from your system to the
guest system so you can run ARM executables like bash, ls and apt in your new
system. Linux kernel has support for executing foreign executables via binfmt_misc
module. For example, you can execute ./notepad.exe and it will run it via
Wine. ARM executables are registered with qemu-arm-static.
Now, you can build the image on your CI server and export the binary for download. It should compress fairly well. The image has some free space in it. But it will expand to the SD card size on the first boot — that’s an important property if you’re trying various media.
Customizing the image
In order to get rid of the manual login step, we need to customize the image first before flashing it to the SD card. You need to
- Mount the image (beware it has two partitions)
- Chroot into it
- Change the hostname
- Re-generate SSH keys so they’re unique
- Clean up and flash the image to SD card
There is a nice guide at Debian wiki that will help you understand how the
pi-gen scripts work. You can then reuse parts of the export-image
pipeline. One gotcha — remember to disable /etc/ld.so.preload, otherwise
some commands will just fail. See the script in pi-gen.
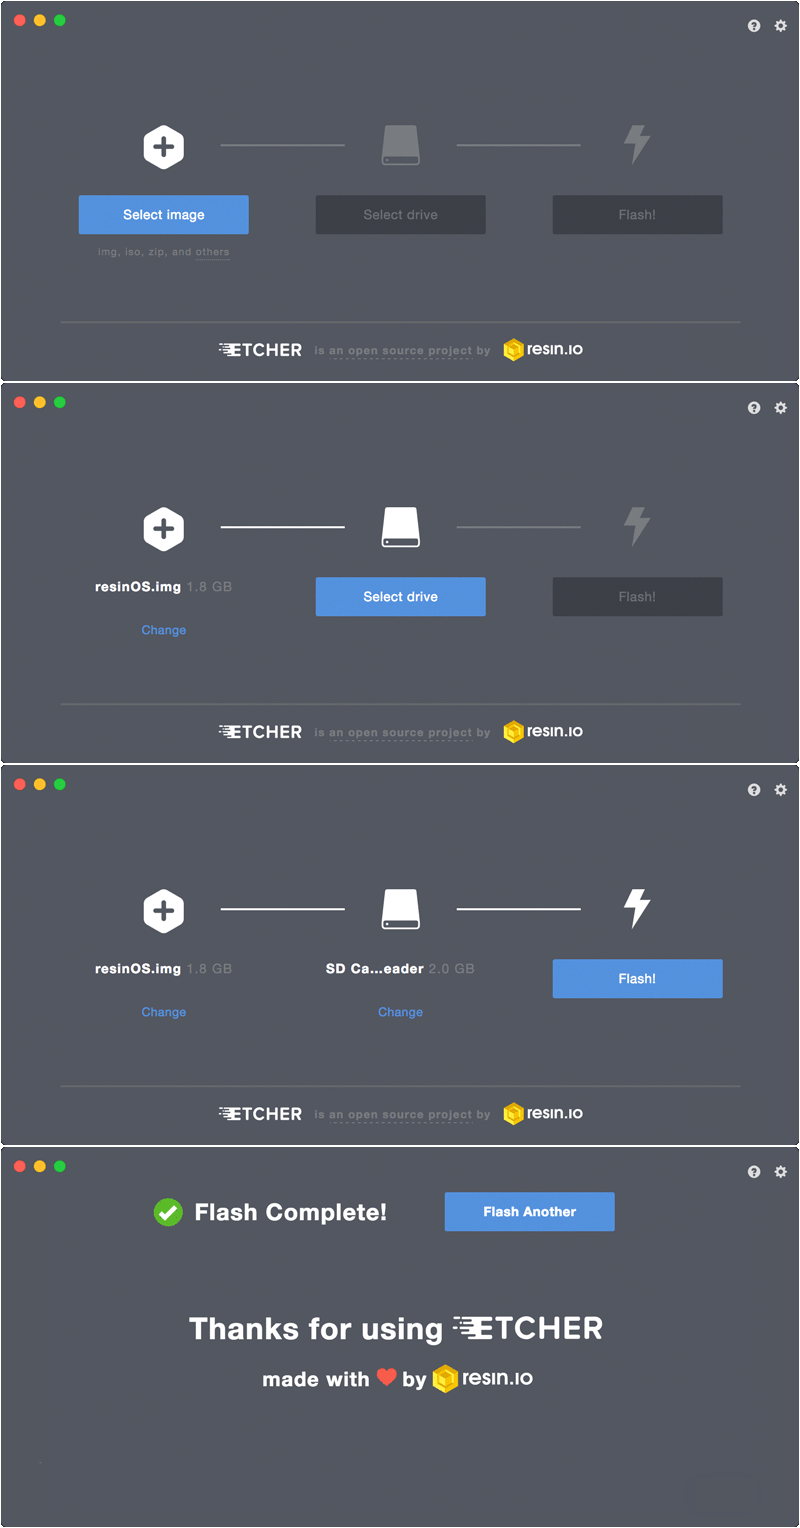
The next step is to flash the image using dd or
Etcher. Etcher has progress bar, will check the result and will talk
you out of overwriting your hard disk.

The new workflow
In the end, this should be a script that will download the image from you CI server, ask you for the host name and Ansible group (e. g. a project or customer this device belongs to) and produce the image. It will also register the device to your registry (see the previous post for details). Then you flash the SD card and boot the device.
When your device starts, it connects to your network with the unique host name and you can just perform fast application updates with Ansible because it’s already registered in your inventory.
All said and done, installing a new device takes only a few minutes more than the time necessary to flash the image to the card. It can be also parallelized using more card writers.

filip at sedlakovi.org - @koraalkrabba
Filip helps companies with a lean infrastructure to test their prototypes but also with scaling issues like high availability, cost optimization and performance tuning. He co-founded NeuronSW, an AI startup.
If you agree with the post, disagree, or just want to say hi, drop me a line: filip at sedlakovi.org